Showing posts with label recipe. Show all posts

Saturday, 19 April 2014

Strawberry buttermilk scones


My 2nd attempt at making scones wasn't as delicious as the first's! (You can read the 1st attempt here)

As NTUC was having offers for strawberries at S$3.55 per punnet, I decided to try making strawberry scones! However, as there's juices in the strawberries, the end product for both strawberry scones attempt wasn't what I was looking for. It was dry and crumbly in the middle and I couldn't really taste much of the strawberries.

The recipe that I used was exactly the same as the first's, the only 2 additions I added were half a teaspoon of baking powder and 3 pieces of chopped strawberries (because this recipe calls for 5 scones)

Also, I think that as I'm using fresh strawberries rather than dried ones, the moisture content in them caused the dough to be unable to rise up and crack well!

Ingredients:

  • 200g self raising flour
  • 1/4 tsp salt
  • 2 tbsp sugar
  • 1/2 tsp baking powder
  • 50g cold butter
  • 150g buttermilk (I used Meiji low fat milk + 2 tbsp lemon juice & let it stand for 30mins)
  • 4 pieces of strawberries, chopped 
Steps:
  • preheat oven to 220 deg celsius
  • Sift flour 3x
  • combine all dry ingredients in a bowl and manually whisk it to combine
  • add cold butter (straight from the fridge and cut into cubes) and use fingers to combine all together until it looks like bread crumbs
  • create a well in the middle and add milk (careful not to add too much like I did!) 
  • use a spatula to combine all ingredients together until it becomes thick and sticky
  • transfer to lightly floured tabletop and lightly knead (i've read from various blogs that we shouldn't knead too much as it may cause the scones to toughen.)
  • use a cookie cutter and transfer the scones to place them beside each other onto baking tray lined with parchment paper.
  • bake @ 220deg celsius for 15-20mins 
  • transfer onto wire tray to cool
  • serve warm with jam/butter any seasoning of choice

Saturday, 12 April 2014

Buttermilk scones

Whenever I dine at Popeyes, I seldom eat the biscuit (which I later knew from BunnyBoi) that they're actually called "scones". He would always say that they're nice and it's his favourite, hence I've decided to try my hands on it!

I adapted the recipe from: http://www.nofrillsrecipes.com/2012/07/buttermilk-scones.html?m=1 and I like that the recipe makes out 5 instead of a dozen like other recipes do.

Ingredients:

  • 200g self raising flour
  • 1/4 tsp salt
  • 2 tbsp sugar
  • 50g cold butter
  • 150g buttermilk (I used Meiji low fat milk + 2 tbsp lemon juice & let it stand for 30mins)
Steps:
  • preheat oven to 220 deg celsius
  • Sift flour 3x
  • combine all dry ingredients in a bowl and manually whisk it to combine
  • add cold butter (straight from the fridge and cut into cubes) and use fingers to combine all together until it looks like bread crumbs
  • create a well in the middle and add milk (careful not to add too much like I did!) 
  • use a spatula to combine all ingredients together until it becomes thick and sticky
  • transfer to lightly floured tabletop and lightly knead (i've read from various blogs that we shouldn't knead too much as it may cause the scones to toughen.)
  • use a cookie cutter and transfer the scones to place them beside each other onto baking tray lined with parchment paper.
  • bake @ 220deg celsius for 15-20mins (however for mine, i don't know why it took me close to 60mins for the browning on top to surface!)
  • transfer onto wire tray to cool
  • serve warm with jam/butter any seasoning of choice

Unfortunately, I've added too much milk onto the batter and it turned out quite gooey, hence I've to keep adding more flour for the texture to be right before lightly kneading them into a dough to be cut out using a cup. 

Another thing to note was maybe the circumference of my cup was too big? Instead of 5 pieces I managed to cut 3, & it took about an hour for the scones to brown at the top. 

I was about to think that "this is yet another failed attempt" when......

TAAAADAAAAA!!!


I'm so so happy! Thank you @nofrillsrecipe for this wonderful recipe! :)


Sunday, 16 March 2014

No bake oreo cheesecake


I had a sudden craving for cheesecake after browsing Instagram and hence I went to do this yesterday! 
I didn't want to use gelatin so I substituted it for condense milk and in the end it didn't turn out well. Shall use gelatin in future!

Also, I followed the wrong recipe! Lolol the website that I followed uses 3 packs of cream cheese but I only used 1, in the end the oreo cheesecake turned out SUPER DUPER SWEEEEEET.

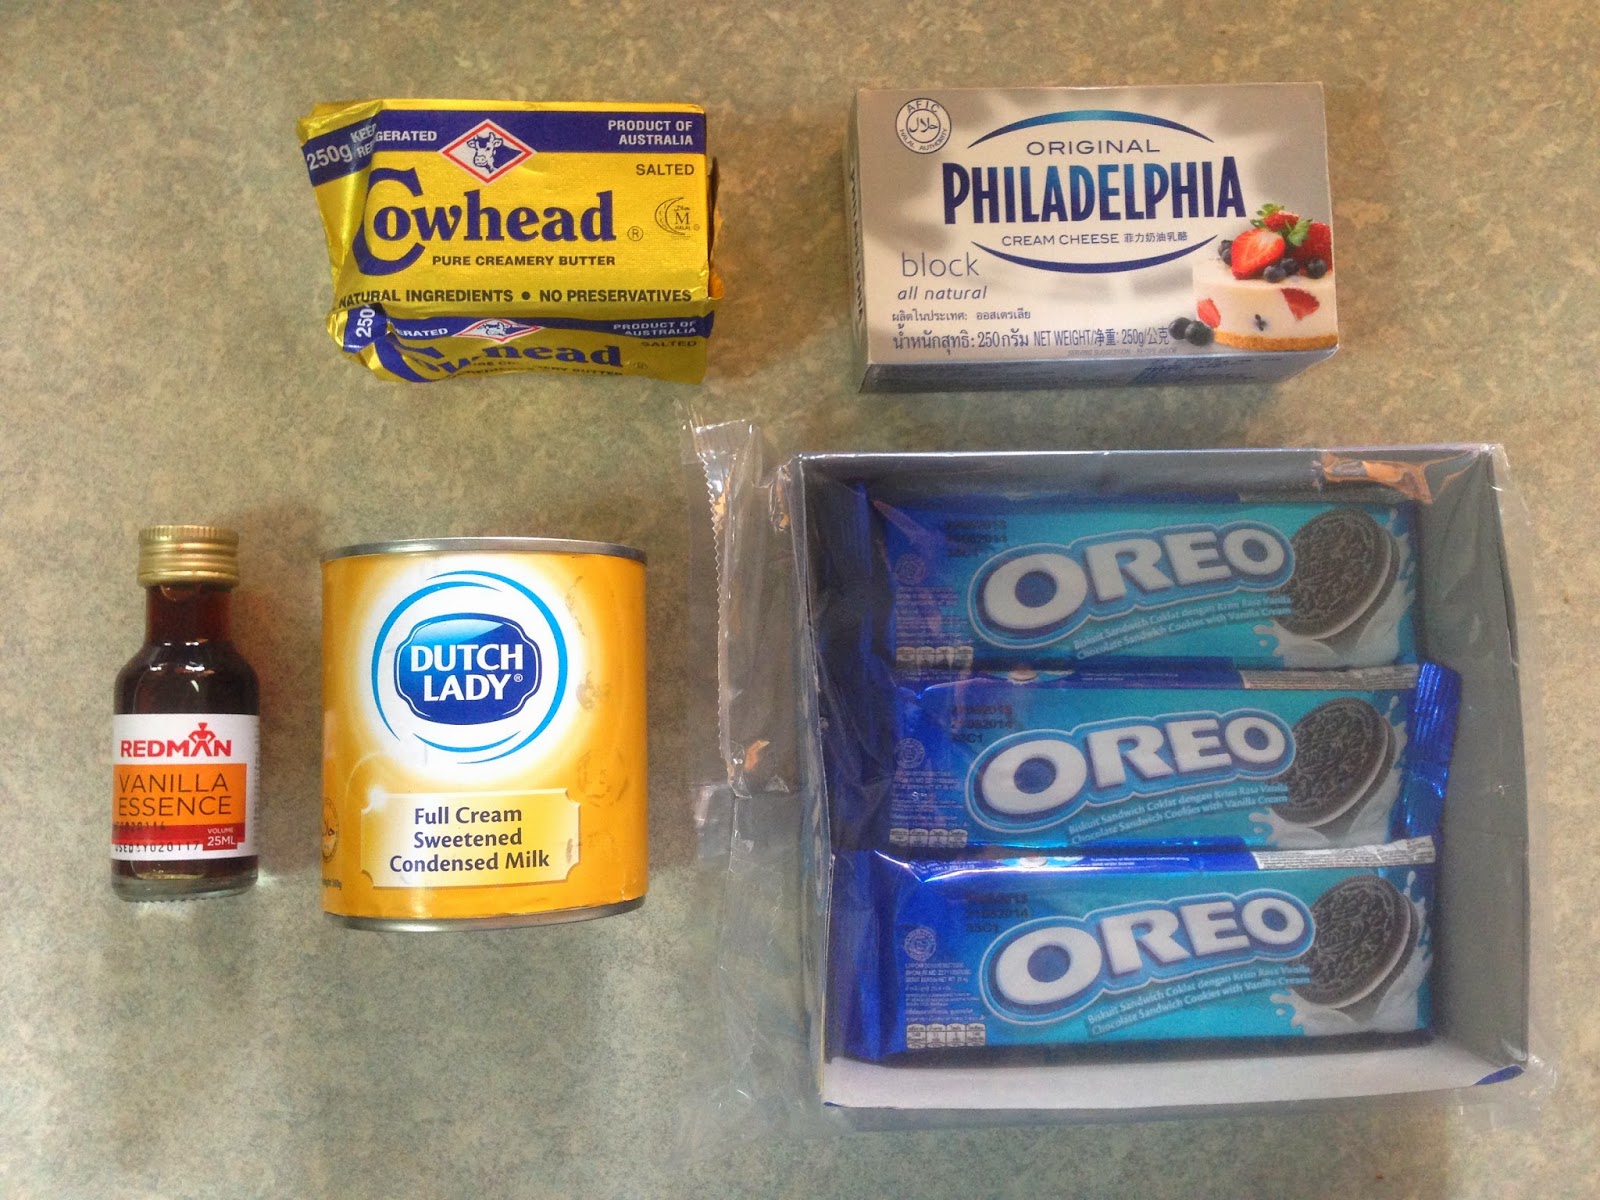
Here are the ingredients I used, and overall I spent S$14.30 in total! 

*P/s: As I was craving for oreo I used up all the Oreos for this no-bake cheesecake.

For the base :
- 6 packs oreo with white cream removed - finely crushed
- Melted butter 25secs in microwave or double boiler 

For the filling:
5 1 tablespoons sugar
- 1 tablespoon condensed milk
- 1 teaspoon vanilla essence
- 250g / 1 block of Philadelphia cream cheese @ room temperature
- 1 pack of oreo, white cream removed - crushed lightly using fingers 

For the topping:
- 5 packs oreo, white cream removed - finely crushed as done for the base

Here's the step by step pictorial!

For the base:
First, I placed the oreos in the bag and used a hard object to smash it. You could use a food processor too but that calls for more cleaning up and water & electricity wastage, but the crumbs would definitely be finer. Hahaha and that's #rexmyboy feeling down as he wasn't able to eat them oreos. 

Afterwhich, melt the butter in a microwave for 25secs, or using stove. Initially I placed it for 1minute and it turned brown! So I did for 20secs, and 10secs and this was what came out:

With the butter melted, it's time to gradually mix it into the crushed oreos! The texture you should be looking out for is "wet sand". Notice I didn't discard the white cream straight away as I placed some of them together with the cream cheese filling. 

Time to line them onto the tray! I used a rectangular 2x7" metal tin as that was the only container I can find at home. I lined it with aluminium foil as I read that it's much easier to remove the cake and indeed it was! 

Oh and another point to note is to use a flat object to firmly press the crumbs down as it serves as a base for the cake. If not done well, or if the crumbs are not fine enough, you will notice that the base cracks easily.

I placed it in the freezer for 1hr30mins before adding the filling onto it. 

For the filling:

Using a mixer, combine sugar, vanilla essence, oreo bits and cream cheese and beat till smooth.
Then place the filling onto the pan & top with finely crushed oreos.
Gently tap the pan onto the table to remove any air bubbles and freeze again for 3-6hours. 
 

After 2 hours, I went to check on the cake by placing a toothpick into it and it didn't come out clean, hence I froze it till about 4 hours later....


Because I didn't use gelatin, the cream cheese tend to melt easily once it's out of the freezer and hence I went to slice the bars into bite size pieces. 

It's the next day today and the cheesecake were still in the freezer, though it is harder to chew now, but it's still edible!

Apart from my first attempt being too sweet and omitting gelatin, I will definitely follow the recipe carefully in future! :)